

|
|
Home | Products | Buy | Downloads | Contact | |
 e-Campaign Bulk Email Software: Quick-Start Tutorial
e-Campaign is easy-to-use mailing list software. This tutorial is intended to quickly familiarize you with e-Campaign. You can get started using this software in 4 steps.
Step 1: Setting up an Email Account

Click the Accounts button to configure an Email Account to send emails.
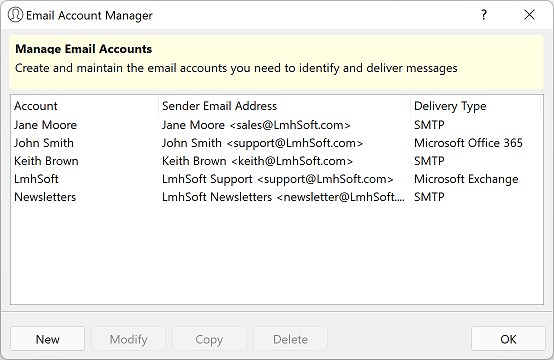
Click the “New” button to configure an email account.
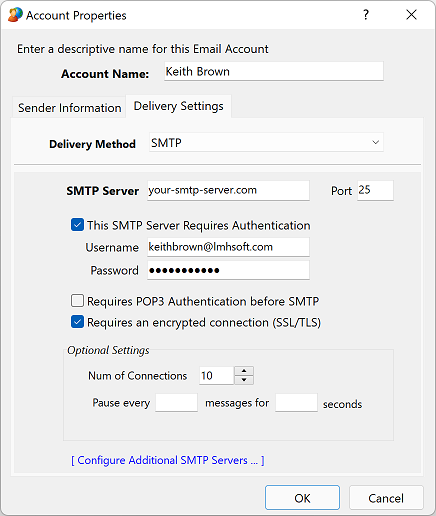
In the “Delivery Method” field, select SMTP, and enter the SMTP Server hostname, username, and password.
Other delivery methods include “Direct Send”, Microsoft Exchange Server, Microsoft IIS SMTP Pickup Folder.
Refer to the “Configuring e-Campaign Section” in the Help documentation for more detailed information about these delivery methods.
(In e-Campaign, press F1 to view the Help documentation.)
Step 2: Creating a mailing list
To create a list, click the "Lists" button.
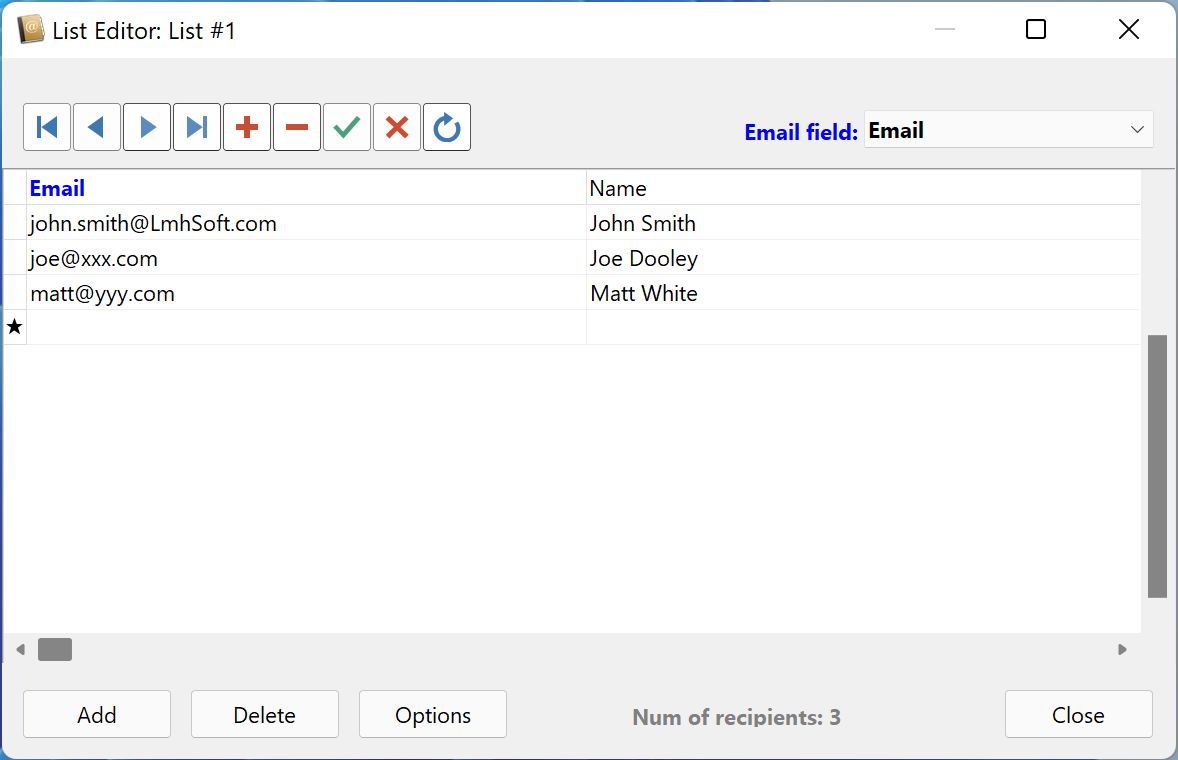
e-Campaign supports list files in the popular CSV format (Comma Separated Values). So, you can also create/edit your mailing list file using any plain-text editor,
such as Window Notepad. Save the mailing list file with a .txt file extension (eg. list1.txt)

A simple (one-column) mailing list looks like this:
EmailA two-column mailing list file looks like this:
Email, NameYou can also use Microsoft Access or Microsoft Excel files as your mailing lists. Please refer to the “Creating Mailing List & Working with Databases” section for further details.
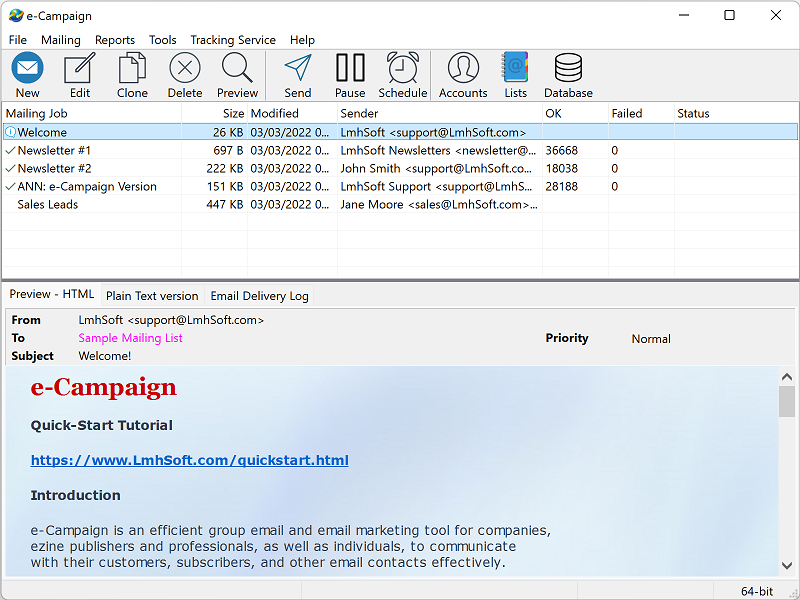
Step 3: Creating a new mailing job
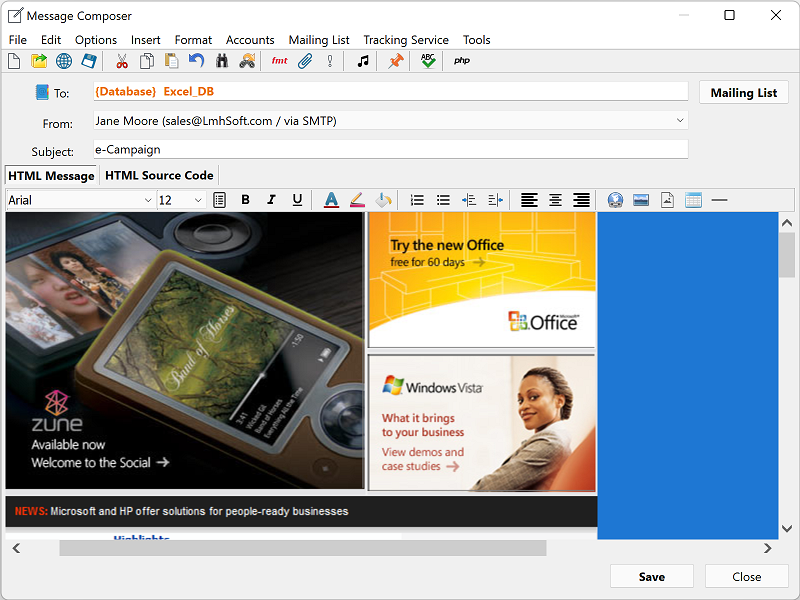
Step 4: Sending email
On the main window, select the newly-created mailing job.
Then click button ![]() to start your emailing.
to start your emailing.
See also:
 Home
| Products
| Downloads
| Buy
| Contact Home
| Products
| Downloads
| Buy
| Contact
|
© 2026 LmhSoft |


 and Linux Mint